My Blockheads #2 | Restarting life in another world
New phone, new Blockheads
As I have recently switched phones ( iPhone 6 ➔ iPhone X ), the data saved in the Blockheads app of the old iPhone 6 could no longer be retrieved. This put a halt to my plans of basing the current series of posts on that device's app, where I have played for years.
Alas, without being able to share the rest of my previous world, Theodocosm, I will now bring whatever lessons I have learnt there over to the brand new world that I will be playing at!
This must be why The Blockheads did not grow to be a popular game. Despite its functionality and the variety of environments it offers in its worlds, progress could not be saved across devices, unless you have enough Time Crystals to make the world a multiplayer one, which either requires you to watch many hours of advertisements, or to cash in on them using real currency. Deleting a world is no joking matter, especially if you have poured in countless time and effort into building it up...
Actually, while I am at it, I might as well try the multiplayer option to see whether my world can be salvaged.
No! There is no getting it back and I cannot go on multiplayer unless I choose the local network which is only a temporary measure. I can only delete the old world...
Getting started on Blockheads
Tip: click on the picture to enlarge it.
Step 1: World Creation
 | | Figure 1 |
| An offline, virtual and free world greets the player when the game opens. I decided to name the world "Edensia" (Figure 1) to pay tribute to my ideals for this world, which is to become a paradise where my Blockheads (the blocky humanoid character that a player controls in this game) would not have to worry about survival and be able to free to do as they wish, just like the Biblical Garden of Eden.
I understand that this name might sound a little cliche, so I might rename it as I go about playing the game. |
Step 2: Character Creation
 | | Figure 2 |
 | | Figure 3 |
| One of the most peculiar functions of this game is how a player's characters are born. Every Blockhead must be warped in via the portal for the game to start (Figure 2).
Before warping in the Blockhead, I got to customise the Blockhead's name, appearance and clothing (Figure 3). These are purely for the visual appeal, and have no bearing on anything in this game on single player mode, as far as I am concerned.
I decided to warp in a man and name him "Alephus" (Figure 2). The inspiration for this name was out of a desire to name my Blockheads in a sequential pattern that would save a lot of my time and my energy in trying to find a unique name. The name is taken from the first letter of the Hebrew alphabet, Aleph. I like how you can add suffixes to common words to create a new combination of letters that sound like names and to add a deeper meaning to the name |
Step 3: Expand your horizons (literally)
 | | Figure 4 |
 | | Figure 5 |
| The game's tutorial will start once the character has been warped in through the Portal (Figure 4, see Figure 3 for what the Portal looks like).
Instead of being only able to see the Portal, the view has now expanded to part of the surrounding landscape. I am now able to see the sky, the dirt, the trees and my Blockhead. As I tap on any icon, the corresponding description shows itself.
However, not to worry! The game tutorial launches automatically and I was soon having a "Survival 101"-themed crash course on how to survive on this blocky world. I will first have to walk around to see what materials I can work with (Figure 5). |
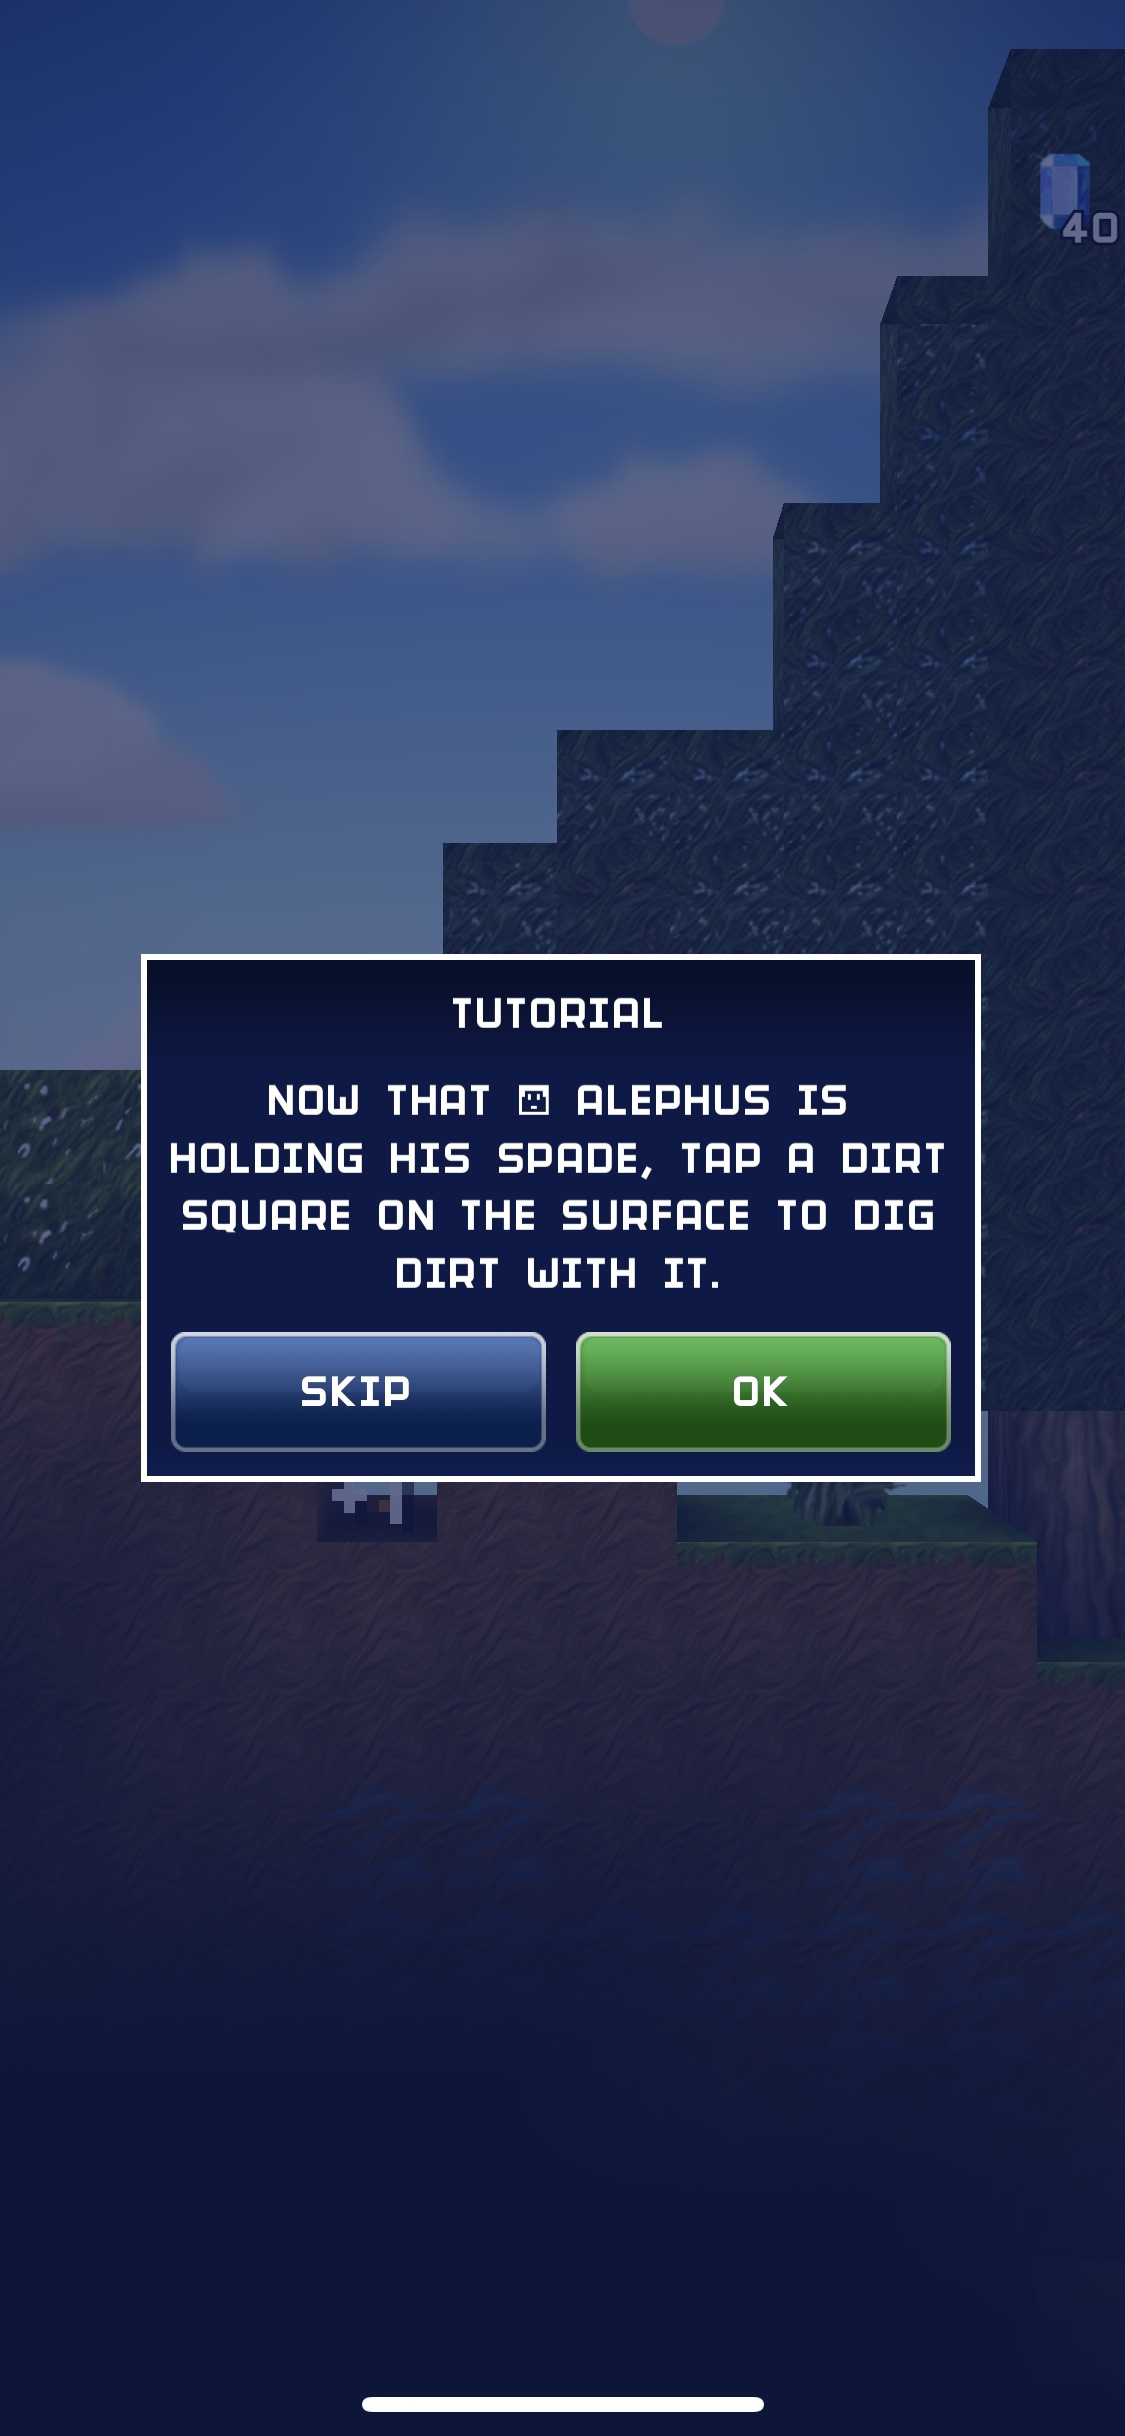
Step 4: Dig (or pick something). Craft. Repeat.
 | | Figure 6 |
 | | Figure 7 |
| In the tutorial, not only will anyone be able to explore a bit more of how the game works, specific instructions will be pumped down to help them learn about the most basic functions of the game.
For example, the first thing that the tutorial will ask you to craft would be the Workbench. A Workbench is a tool that is essential to crafting, as it converts materials to other useful tools and items. The tutorial also tells you what materials are needed, what tools you have in your inventory (the square spaces that can be filled with items at the bottom of the screen) and how to use the tools to get the materials (Figure 6, 7).
Through the tutorial, a player will learn:
1. How to warp in a Workbench at the Portal using dirt.
2. How to dig to gather dirt or to make a cave.
3. How to dig for flint and what flint looks like.
4. How to use the flint to make tools.
5. Where to find sticks and ways to gather them.
6. Using the sticks to craft a campfire.
7. Using sticks to craft out a Craft Bench.
8. Using the Craft Bench to create baskets. |
Now that I have learnt the basics of this game, what should I do?
Anything! This is a world where you can explore at your own pace by controlling your Blockhead. It is important to ensure that the needs of each Blockhead is taken care of so he/she survives and you are able to control him/her to play this game. The tutorial also helpfully suggests that you can refer to the Achievements (located at the pause button) to look for things you can do if you ever run out of ideas for what to do in this game!
Look out for more posts under this series to see what I am doing with this sandbox game! For the terms that are unique to this game, I will try to explain them and include more pictures of them so that everyone will be able to understand how I can have so much fun in this game.